How To: Add Cane to Furniture
Hey guys! We have a fun furniture makeover for you today! Here is the “before” of an antique hutch we found at a farm auction a while back. It had some fabulous bones, and was very unique with it’s curved top. This one though – man was it a doozie to fix up. Like I said, it had some great foundations but the veneered exterior was in some very serious trouble.
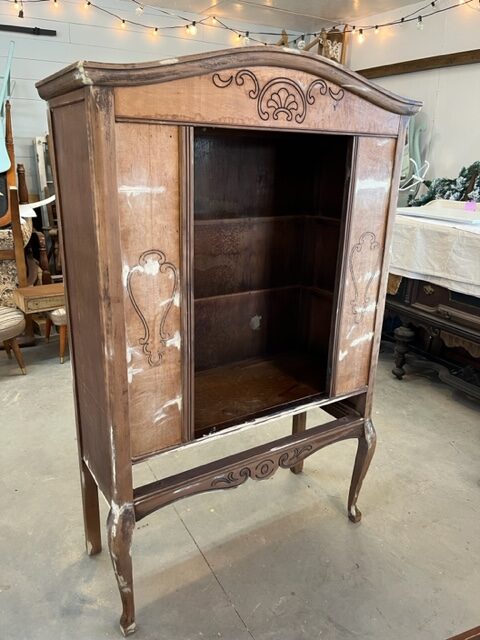
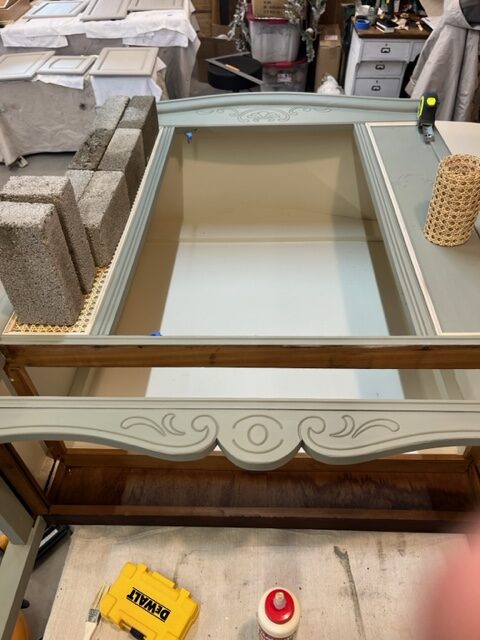
A lot of times I forget to take a before photo so this is the piece after Vicki had already removed all of the peeling veneer, the door and drawer for repairs. The veneer was actually pretty easy to remove as it was all bubbled up from water from the auction. That actually helped us a lot. Here you can see Vicki had quite a few spots and cracks to fill. We began filling those two front side panels but the wood underneath was just too crappy, we weren’t liking it at all. So Vicki came up with the brilliant idea of adding cane to those panels!
We have seen caning coming back on trend recently and we have both just been loving it. This was the perfect area to try it on!
So we gathered our supplies and got right to work. If this is something you would like to do to a piece of yours, just follow along to the steps below!
Supplies:
- A furniture piece with some kind of flat paneling you can add cane webbing to
- Cane Webbing
- Trim (Similar to this one, but make sure the dimension works well with your piece) We purchased our smaller size from Menards
- Wood Glue
- Chip Brush
- Something heavy to hold the cane in place
- Miter Saw
- Scissors or knife to cut your Cane
- Tape Measure
- Nail Gun & Compressor & Small Brad Nails (We used 3/4″ nails)
- Fusion Mineral Paint
We began by measuring the panel size so we could cut down the cane webbing to fit. We marked the back of the cane webbing and cut it down to size. Make sure to dry fit your caning to the area you will be adding it to so you know it will fit. Trim any excess parts so it fits.
Next, cut your trim pieces. The trim is necessary to cover up the raw edges of the cane webbing. We found some very small decorative trim molding at Menards that worked perfectly. We also decided to miter the edges so they fit together nicely and looked more professional. Measure twice and cut once! This very small trim was a bit difficult to cut on the miter saw, but we made it work. Be sure to dry fit your trim pieces as well so you know they all fit perfectly!
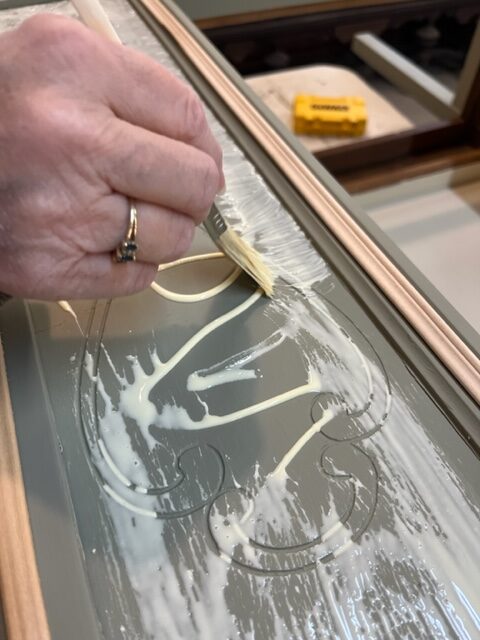
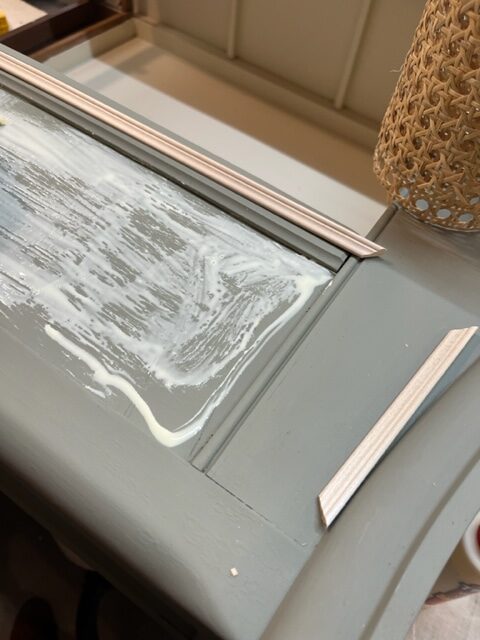
Then we added wood glue to the front side panels and brushed it over the entire surface with a chip brush. Once the glue is on go ahead and add on the cane webbing and then something heavy over the entire webbing so it will glue down. We ended up using some old bricks to hold it down to the glue.
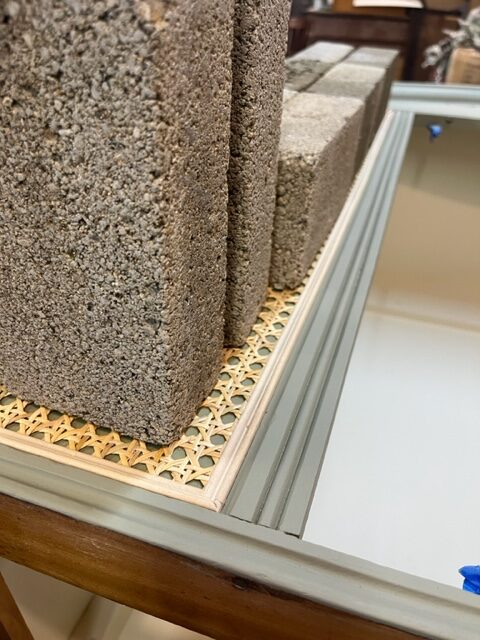
Immediately after adding the bricks we began on the trim so that it would hold down the cane webbing on the edges. (We had to kind of work around the bricks) We added wood glue to the bottom of the trim, then used our nail gun to nail it into place. We had to be careful to angle the nailer so the nail would go into the side where the wood was thicker. If we would have gone straight down, then the nail may have gone through that thin panel. Just keep that in mind when adding your trim.
We kept all of our trim organized so we knew which pieces were going in which spots according to our dry fit when cutting. We also worked on one panel with all of these steps (cutting the trim, gluing the cane and then nailing the trim) and then moved on to cutting the trim for the next one. This seemed to also keep our trim pieces organized so we didn’t get confused.
We did end up keeping the bricks on for a couple hours until we were sure the glue was good and dry.
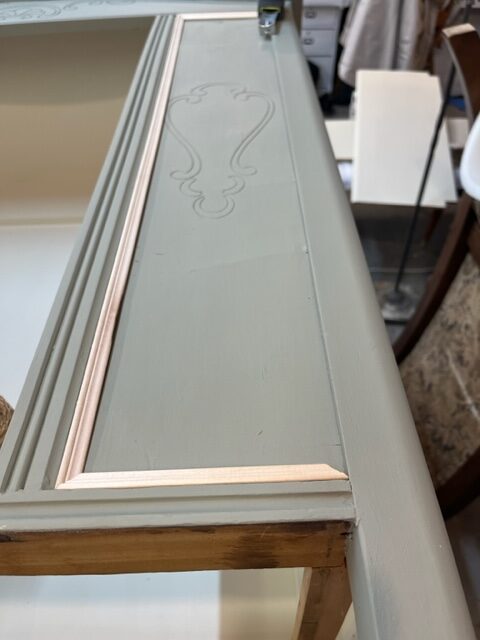
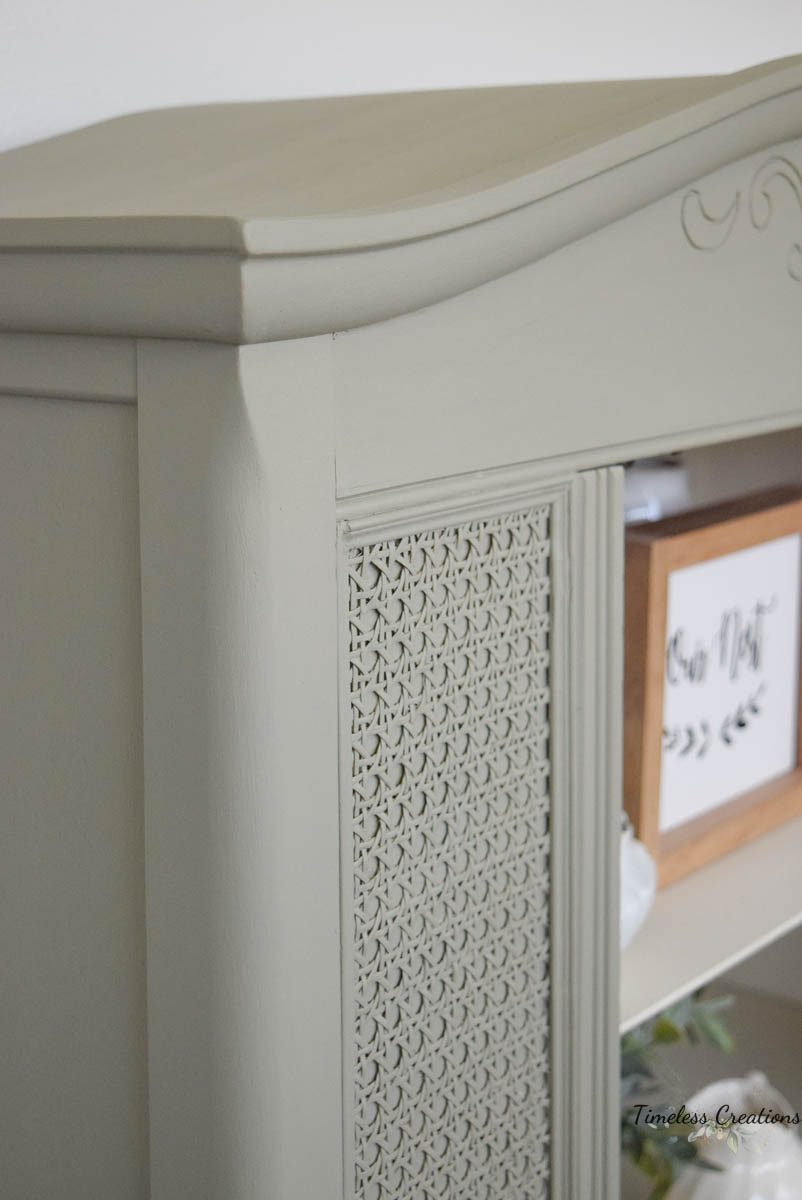
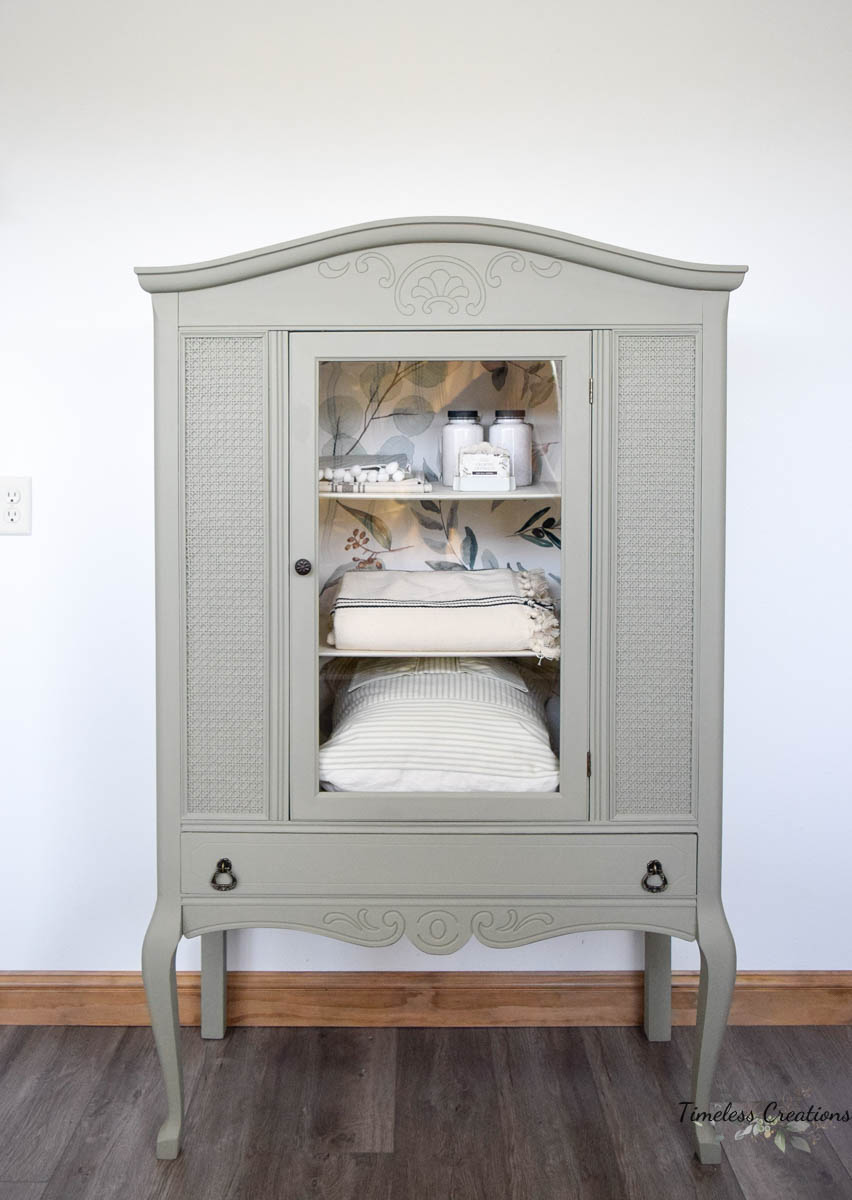
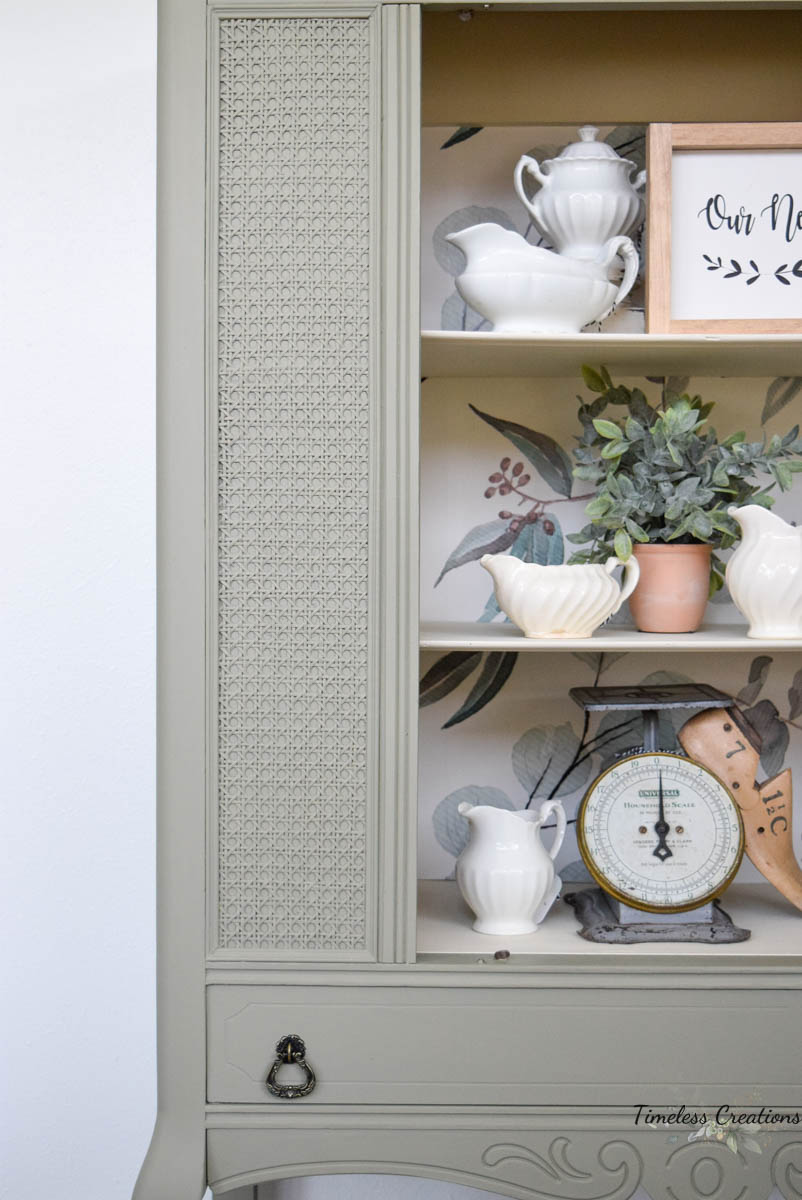
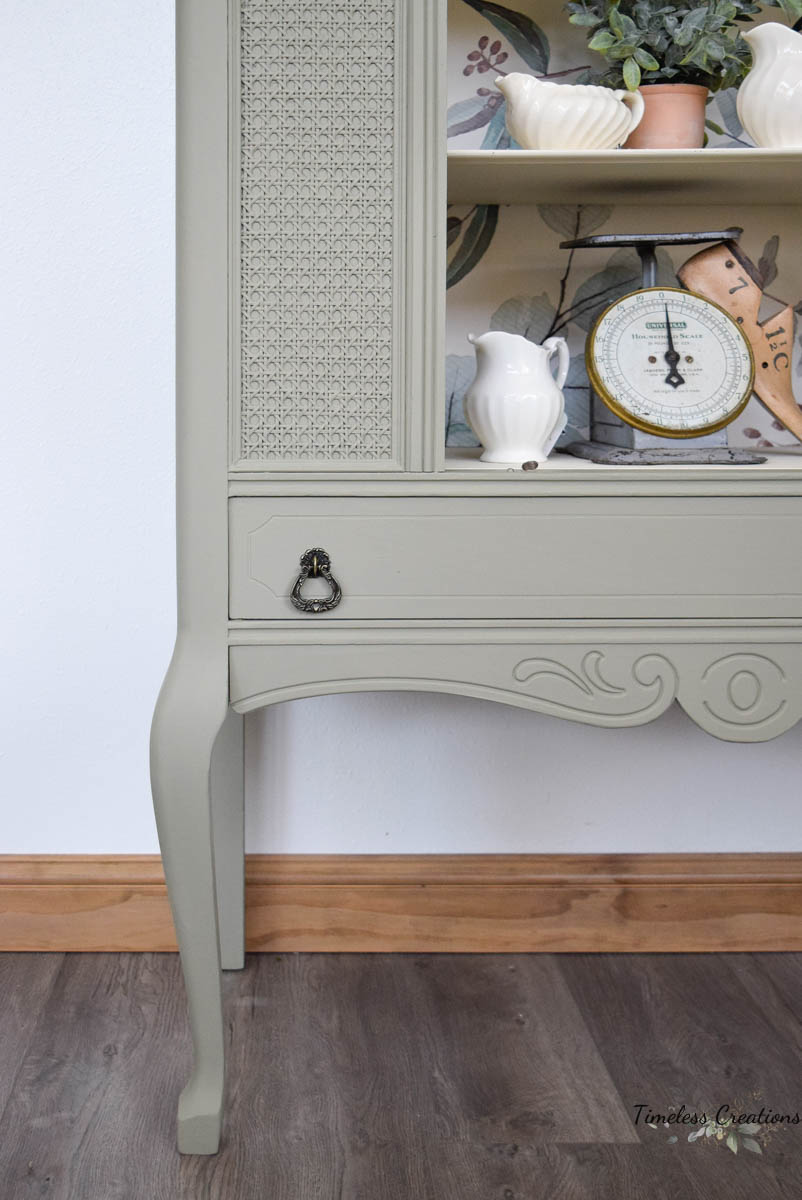
Once everything was placed and dried, we added a little wood fill over the nail holes and in the mitered corners to finish it nicely. Then we were ready for paint! Vicki chose the color “Lichen” by Fusion Mineral Paint which is a light sage green. Absolutely beautiful! The inside was painted in Fusion’s “Raw Silk” which included the two shelves as well.
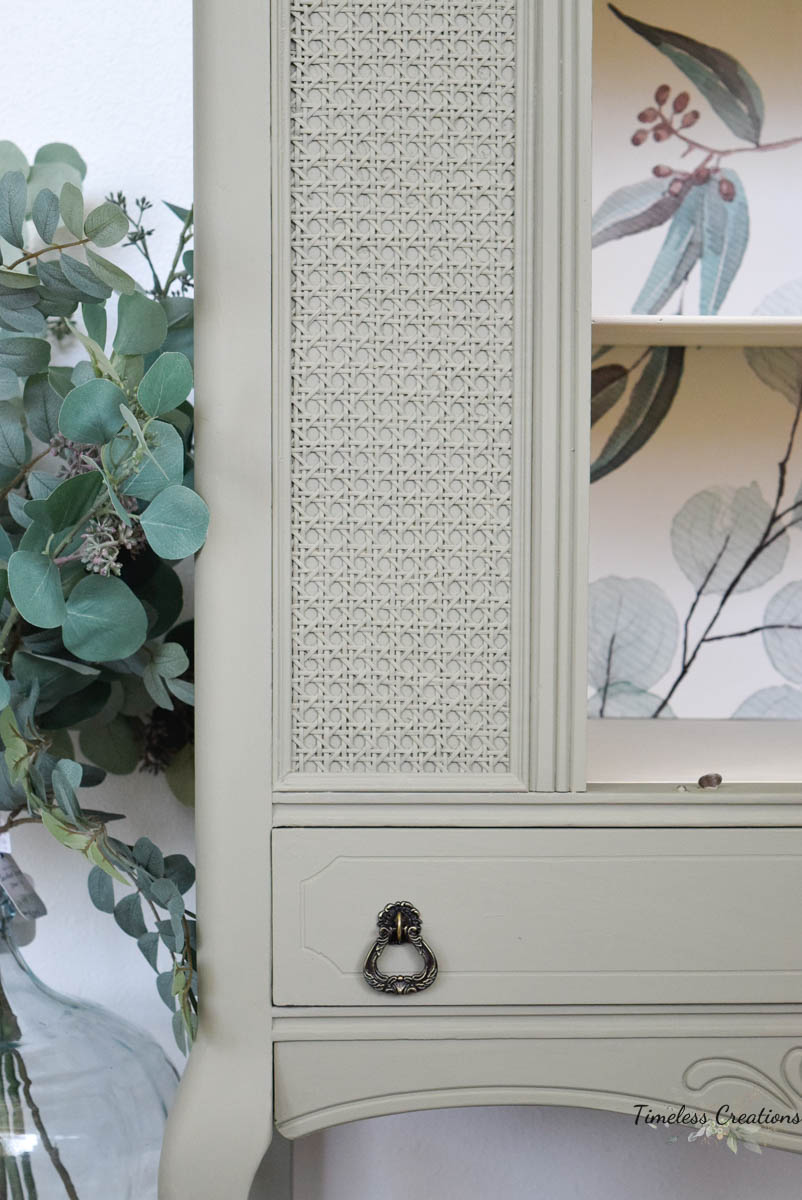
Since the original plan for this piece was to add that beautiful Eucalyptus wallpaper in the back we didn’t want to add another color into the mix by keeping the cane natural. We decided to paint it to match the outside of the cabinet. That was strictly a design choice as we wanted to use the wallpaper. But I have seen the cane webbing done in it’s natural state or a light paint wash and it is beautiful as well.
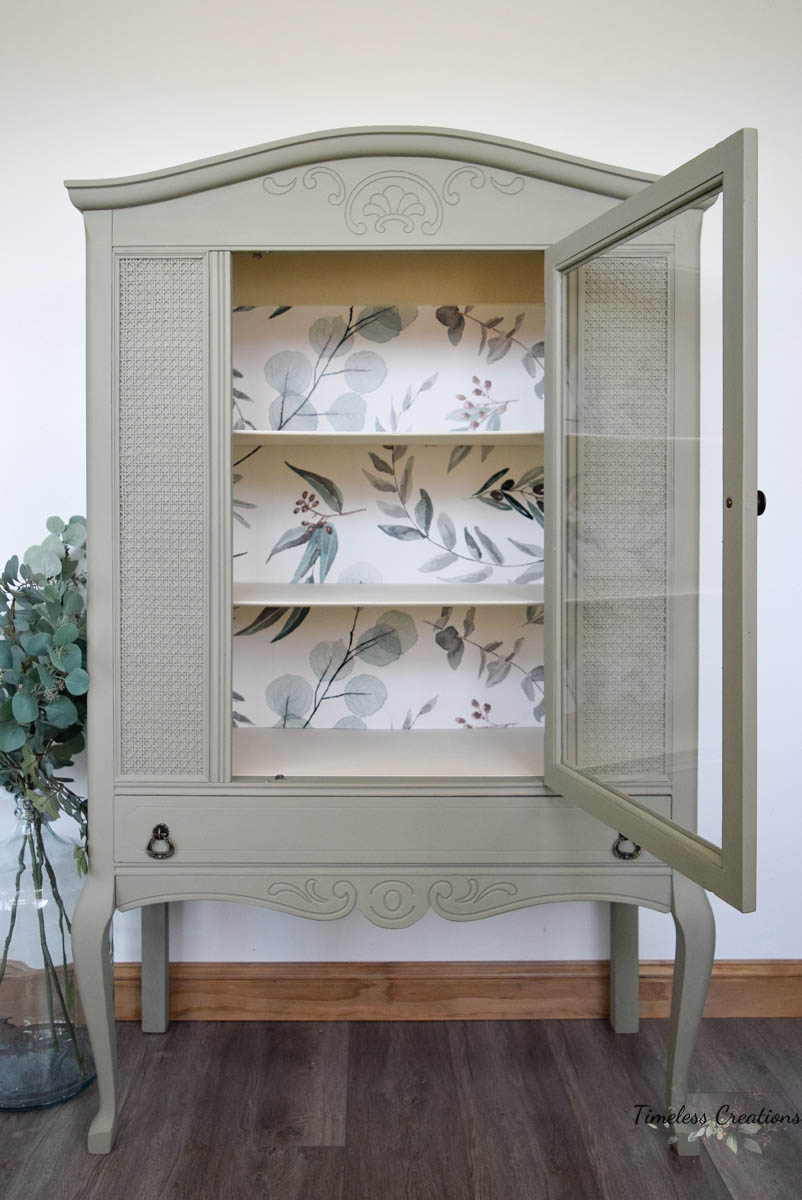
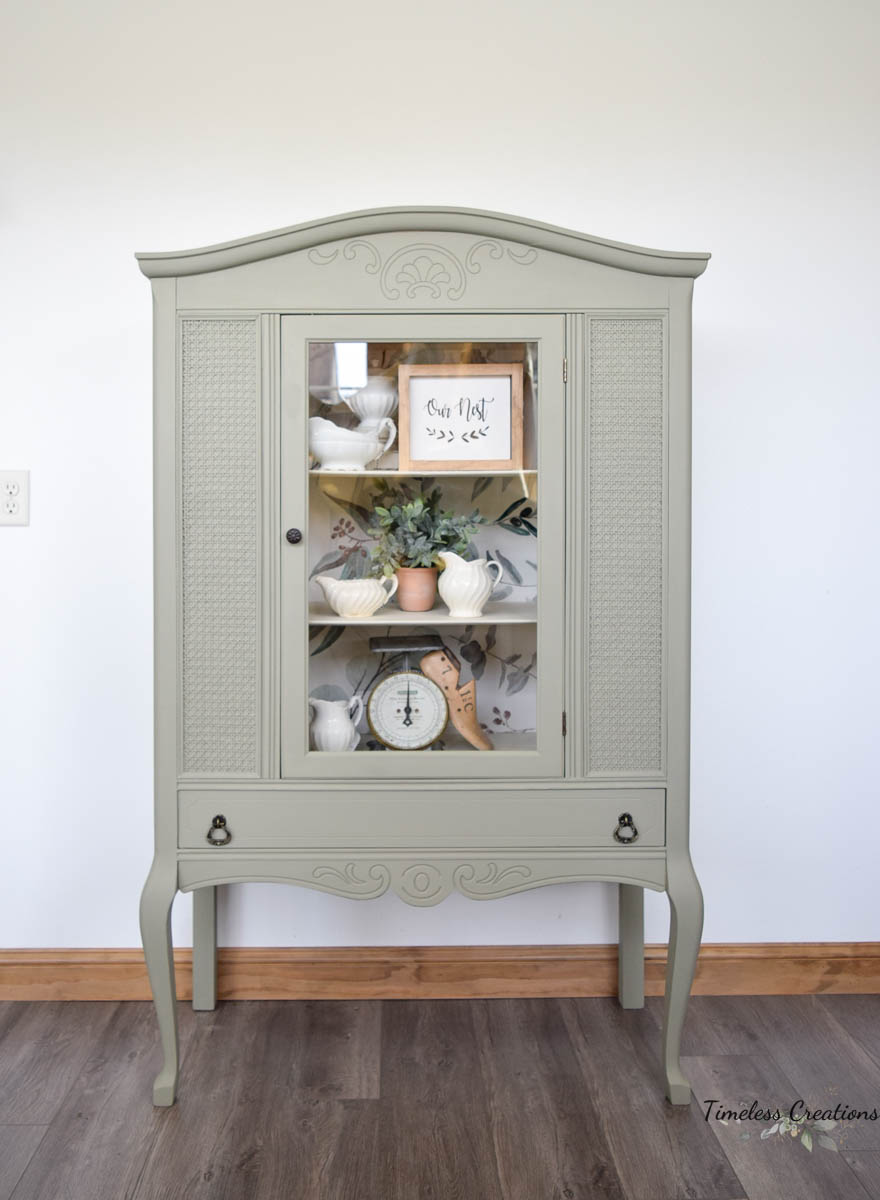
And isn’t she gorgeous! Vicki definitely had a vision for this one, and even though it was in rough shape cosmetically, these old pieces are just built so much better than new pressed wood furniture. We just adore old furniture!
That glass door was quite a bit of work as well. Vicki had to scrape off old silicone caulk that some past owner had used to “fix” the door. All it needed was some new trim around the edge of the inside of the door and it was good as new!
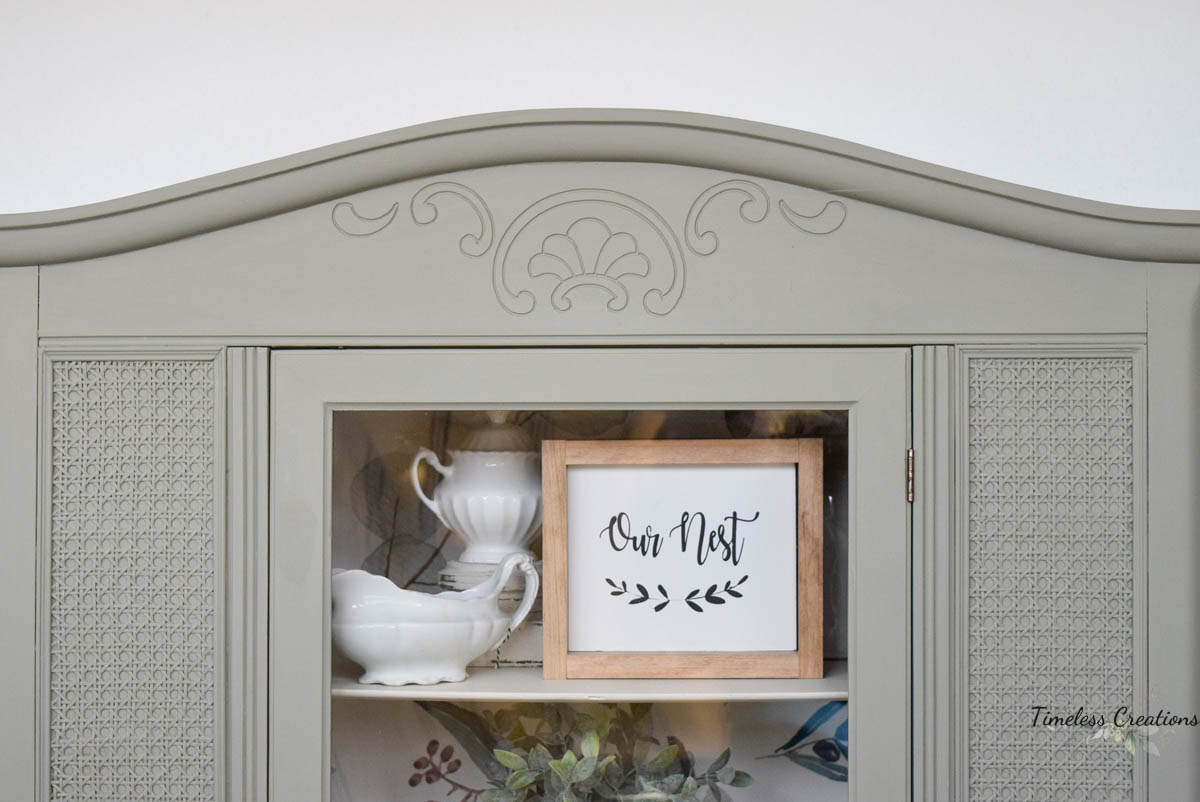
And of course, like almost all of the the hutches of this style we have done in the past this one did not last long in the store at all. I think this was the quickest to go at just one week in the Boutique before being snatched up. I can see why though – this is probably my favorite one after my very own I kept in my house! That little cane detail is just adorable, along with that perfect color to go with the wallpaper in the back.

We hope you love this makeover just like we did, and know that even though cosmetically a piece does not look great, it can still be salvaged to be something beautiful!
Stay tuned for more – we will be sharing another great “How-To” very soon!
Find Fusion Mineral Paint & Product HERE / Piece painted in “Lichen” on the outside and “Raw Silk” on the inside.