
Game Room Makeover: Week 4 {One Room Challenge}
We’ve reached the half way point in the One Room Challenge! Four weeks from now I’ll be sharing photos of our completed game room {fingers crossed!}. In the meantime, I’ve got a pretty exciting updated to share this week. Last week I showed you all the inspiration pics and the plans for our game table seating, and now the banquette is in place and I’ve got photos below!! Today I’m also sharing the plans for our custom game table.
Our Plans for the Ultimate Game Room
If you missed the last couple of weeks, be sure to check our all the before photos and design plans for this basement family room makeover in my Week 1 post. Between now and June 24th, I’m transforming our basement into our dream game room, and we’re doing alongside more than 200 other talented designers as guest participants in the One Room Challenge. The ORC was started by Linda Weinstein of Calling It Home, and Better Homes & Gardens is the official media sponsor.
ORC Week 4: Game Table Banquette Seating
In case you missed last week’s post… this is the space that where I’ve dreamed of adding banquette seating and a game table from the moment we first toured our house 13 years ago.
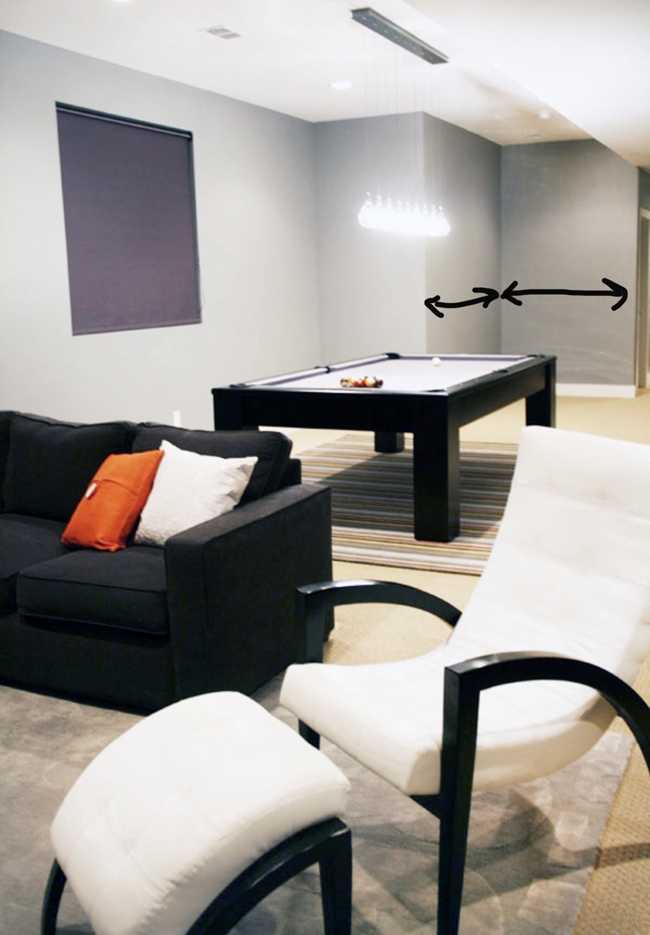
We put this project on hold for a decade so that the far end of our basement could function as a “playroom” for the kids, but now that the boys are a little older and family game nights are our jam… the time is finally right! Here’s a reminder of the plans for this end of the basement…
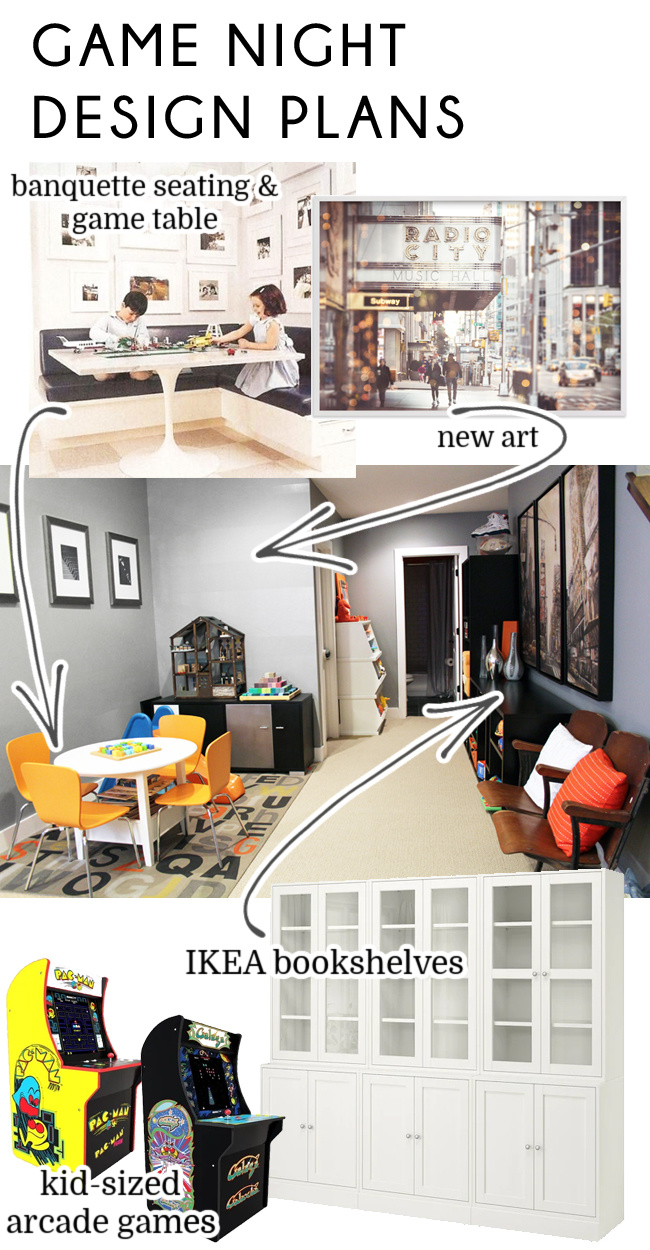
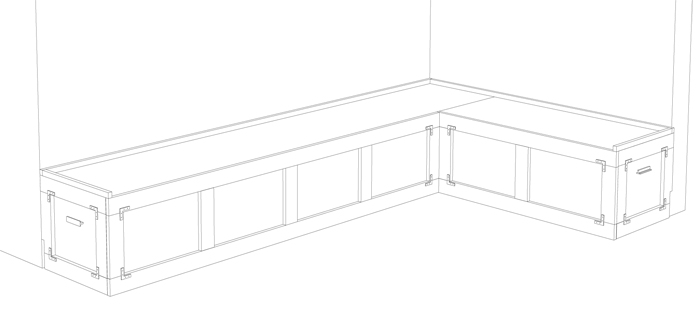
We hired one of Scott’s theater friends (a set builder) to build our dream banquette seating for us, complete with huge storage drawers. There are the plans that he drew up based on all of our inspo photos and requests:
How’s that for a lot of build up to the main event? Are you ready to see the completed banquette seating?
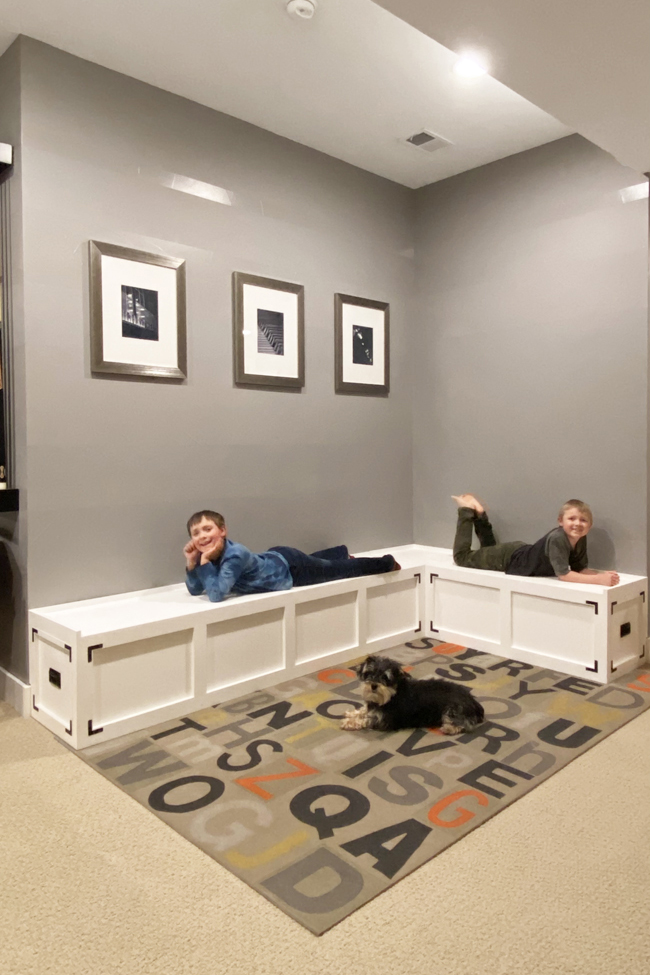
Banquette Storage Drawers
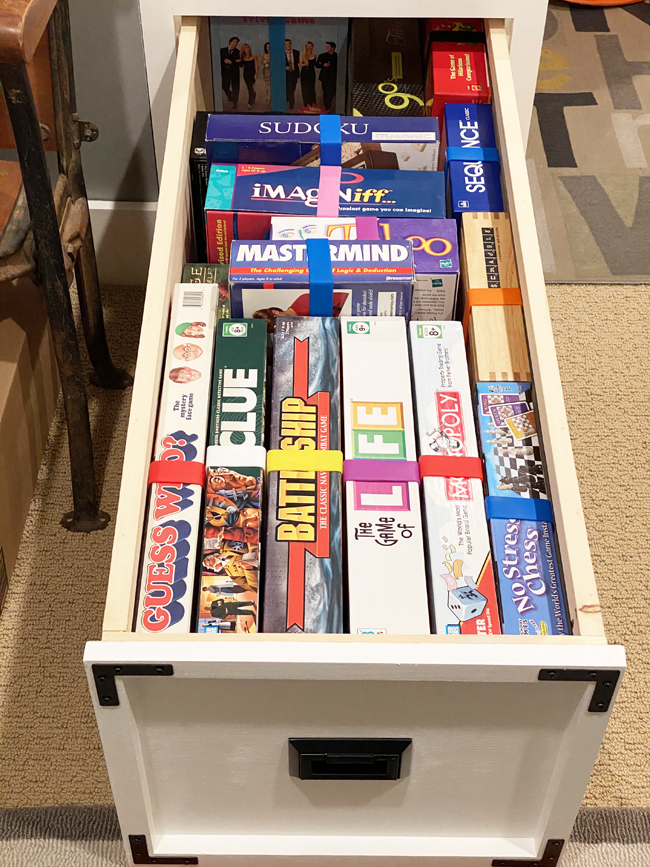
I can’t even begin to tell you how excited I am about this! Not only is it EXACTLY what I envisioned, it also has SO MUCH hidden storage for all of our games. Check out these drawers…
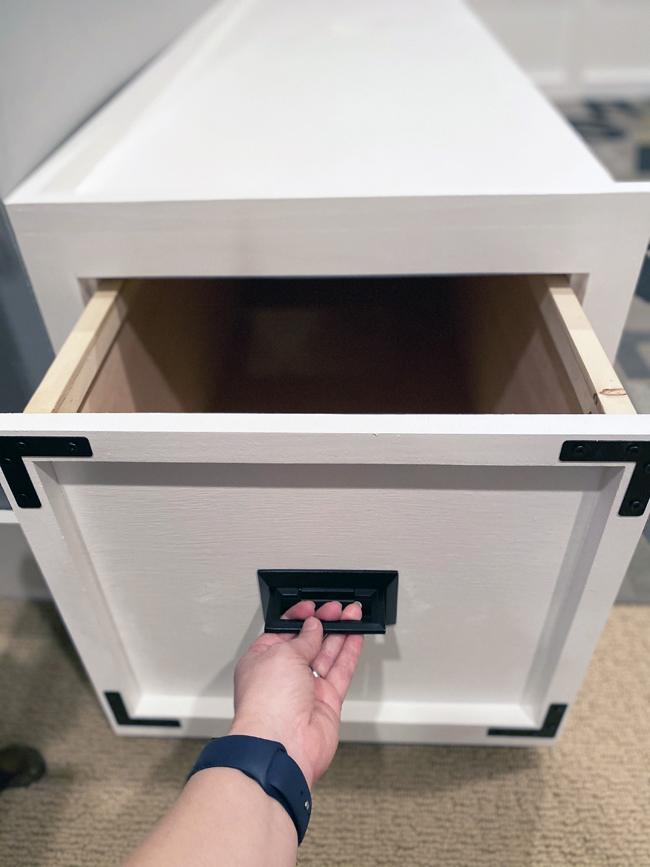
They keep going, and going… FOUR FEET LONG! And there’s a drawer this side on each end of the banquette.
The table will be coming soon (and I’ll talk more about that in a minute), but we wasted no time setting up a folding table for our first game night on our bench seat (cushions also coming soon). The next day, I stacked up all of our games on the table, curious to see just how much I could actually fit in these drawers.
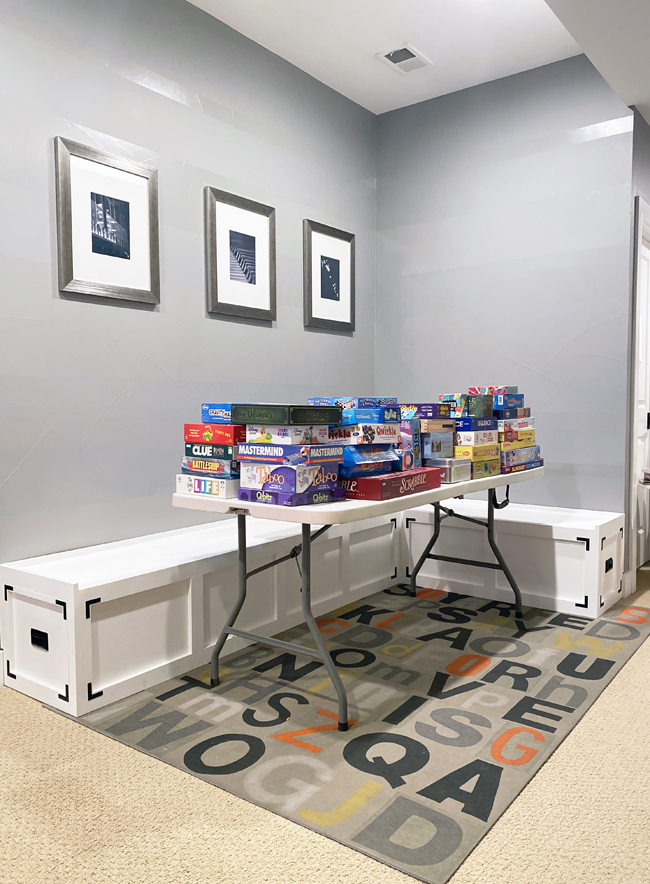
We own a lot of games, so my goal was just to fit our favorites in the drawers, and then store the ones we play less often in the closet.
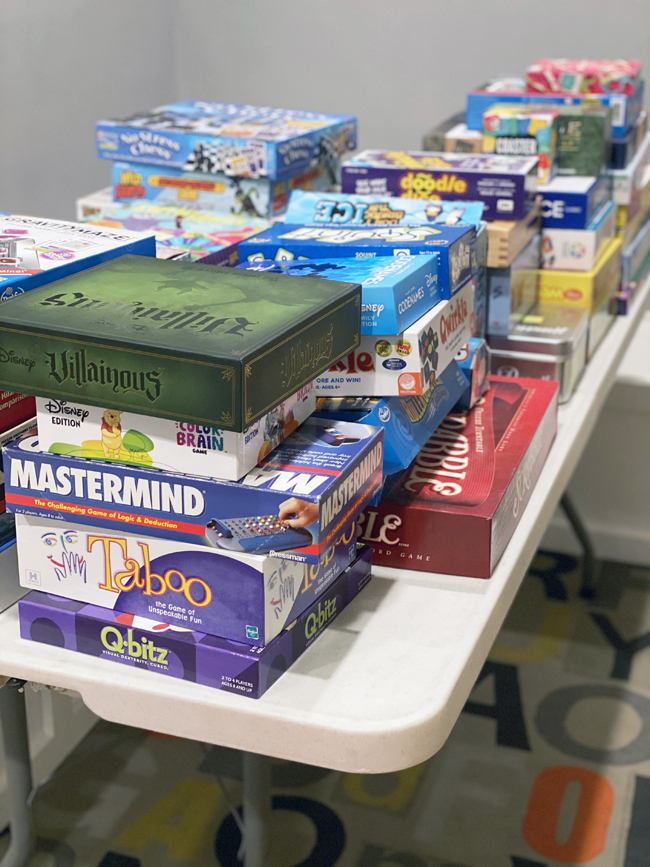
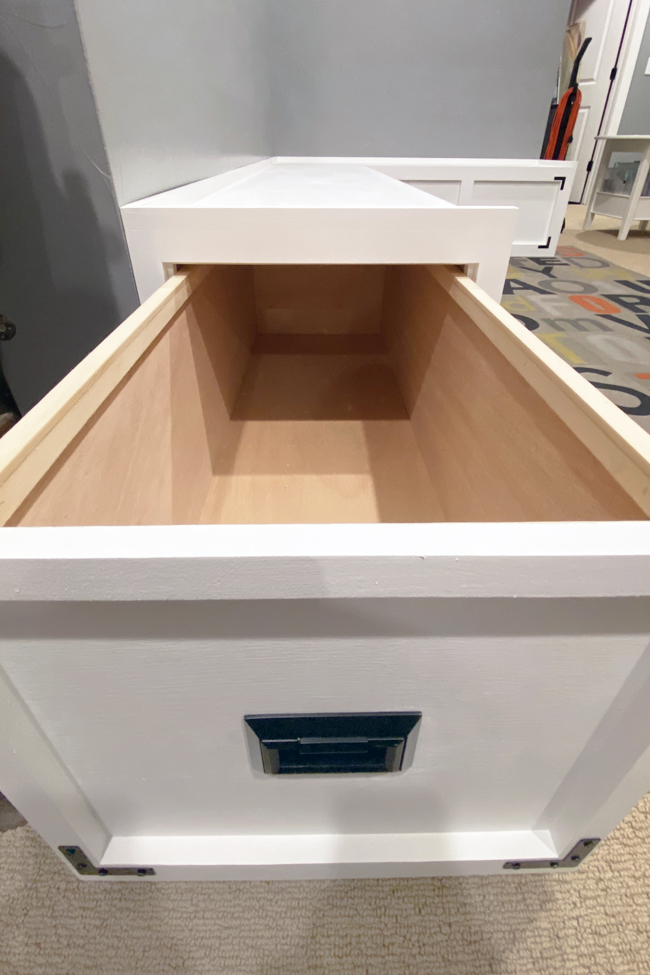
Would you believe that EVERY SINGLE GAME fit in the drawers? The only exception is Scrabble – because the box is wider than the drawer – but I discovered that we actually own two Scrabble games, and the one in the smaller box fit just fine. The duplicate we’ll probably end up taking up to my parent’s cabin so we can play it there.
Here’s a look inside one of the two drawers. You can see that there’s even still some extra space toward the back … room to grow our collection!
Game Table Plans
Next up is the game table. The number one thing to keep in mind when buying a table for banquette seating is that you don’t want legs at the corners or else you won’t be able to slide on and off of the bench! A pedestal or trestle base is ideal, but finding the right one for our space proved much more challenging than I expected. We have space for a table between 70 and 80 inches long, but most pedestal tables are shorter than this (which makes sense when you think about the weight distribution). Most trestle tables have either a farm house or formal style (neither or which is right for our space), and they also carry a higher price tag than our budget could accommodate.
After days of online shopping, I’d come across two tables that caught my eye. Neither table had the right dimensions for our space, but I knew I was on the right track!
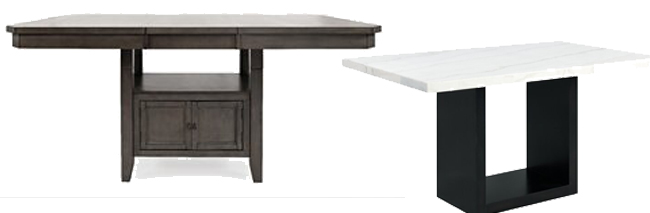
Both tables have bases the are inset from the tabletop, both widthwise and lengthwise. I love the added storage in the first table, and I like the simplicity of the lines of the second table. Finally I gave up on shopping and accepted the fact that the perfect table for our space was probably going to require a custom build, just like the banquette seating.
We reached back out to Scott’s friend who was building the banquette and shared our ideas, and he said it was totally doable! We asked for a design that mixed the best of both inspiration tables – the simple lines of table 2 with the added storage of table 1, by way of a shelf in the center of the base! Here’s what he drew up (and what he’s working on building now):
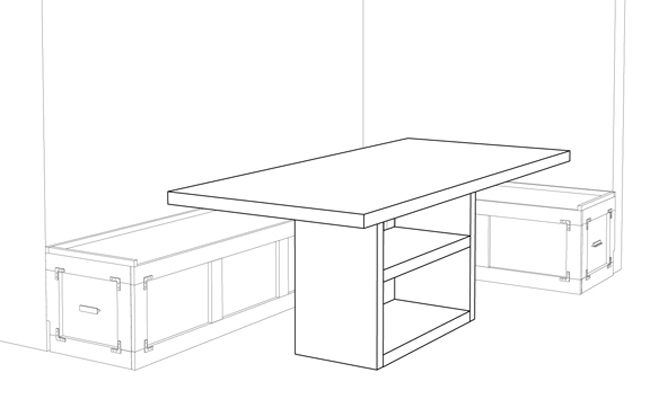
My plan is to buy baskets for the shelves to hold all of our puzzles. Last year, I shared my favorite tip for how to store puzzles in less space, and I had him design these shelves to be just the right height accordingly! With all of our board games in the banquette storage drawers, and all the puzzles on the shelves in the center of the table – we’ll be able to free up so much storage space for other toys (thank goodness, because my boy’s Lego collection is multiplying (and a little birdie tells me we’ll have even more to put away after an eighth birthday that’s coming up in just a few days).
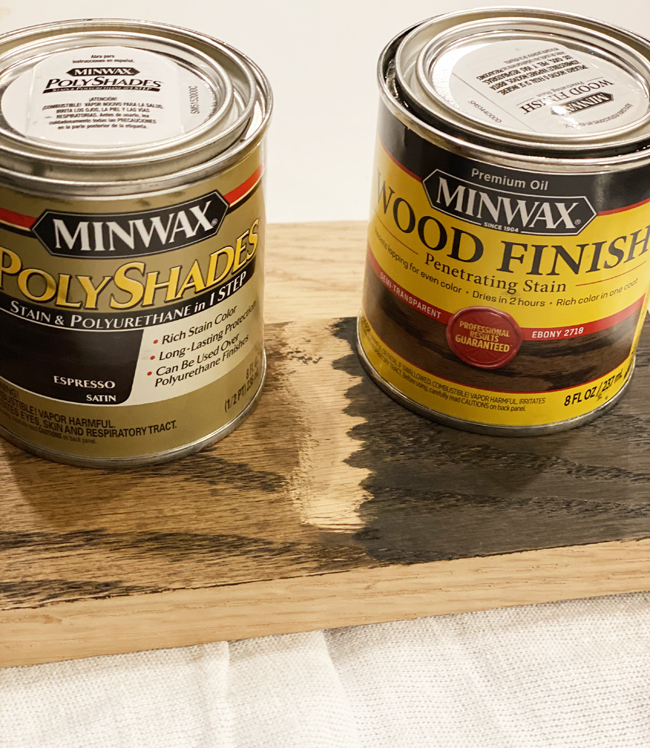
I debated quite a bit about the color for the table, but decided I want it stained a very dark brown to coordinate with our pool table as closely as possible. We purchased a sample board of red oak (the type of wood he’s using to construct the table) and a few small cans of stain to test colors.
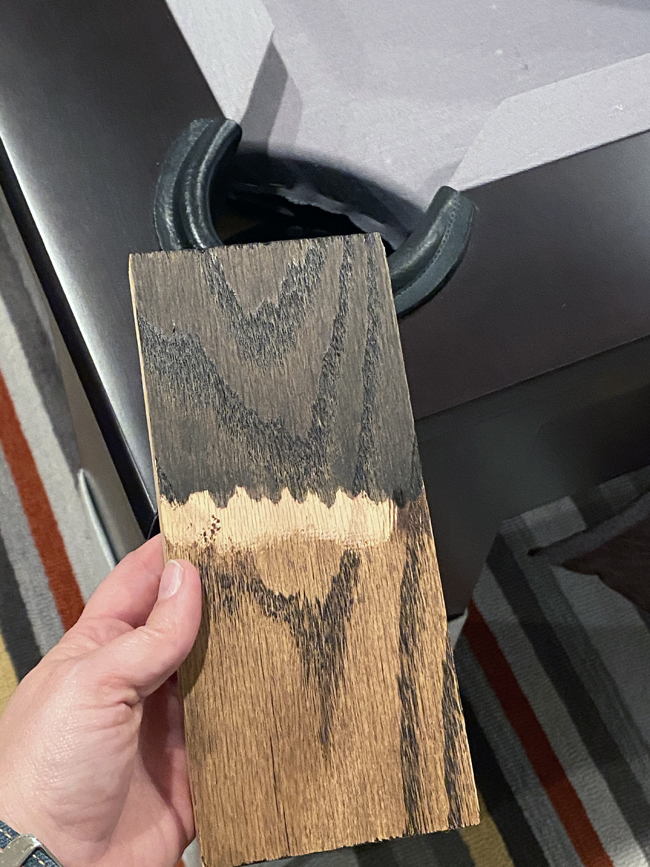
It’s amazing how different the stain looks on the board compared to how it looks in the samples at the store, and in the photos on the can. The Espresso looked like it would be the darker of the two, came out much lighter on the sample board (even after multiple coats), and the Ebony looked lighter in the store samples an on the can turned out to be a very deep, dark brown on our wood. Thanks goodness we tested both colors on the red oak before making our decision! Mixwax Ebony it is! It’s not a perfect match to the pool table, but I think it will look really good in the space!
Next up, I need to shop for some chairs to go around the other two sides of the game table. We’ve also got lots of other projects to work on in the coming weeks, including creating cushions for the banquette, hours of IKEA assembly, and hanging tons of art as well as some cool wall games. More to come next week!
The post Game Room Makeover: Week 4 {One Room Challenge} appeared first on Blue i Style.