Game Room Makeover: Week 3 {One Room Challenge}
It’s week 3 of One Room Challenge, and this week I want to talk about the part of this game room makeover that I’m the most excited about – the banquette seating for family game nights!
Our Plans for the Ultimate Game Room
If you missed the last couple of weeks, be sure to check our all the before photos and design plans for this basement family room makeover in my Week 1 post. Between now and June 24th, we’ll be transforming our basement into our dream game room, and we’re doing alongside more than 200 other talented designers as guest participants in the One Room Challenge. The ORC was started by Linda Weinstein of Calling It Home, and Better Homes & Gardens is the official media sponsor.
ORC Week 3: Game Table Banquette Seating
From the very first time we toured our house – back when we were house hunting 13 years ago – I could already picture how I wanted to use the basement someday. I envisioned a couch and TV at one end for watching movies, a pool table in the middle, and a game table at the other end.
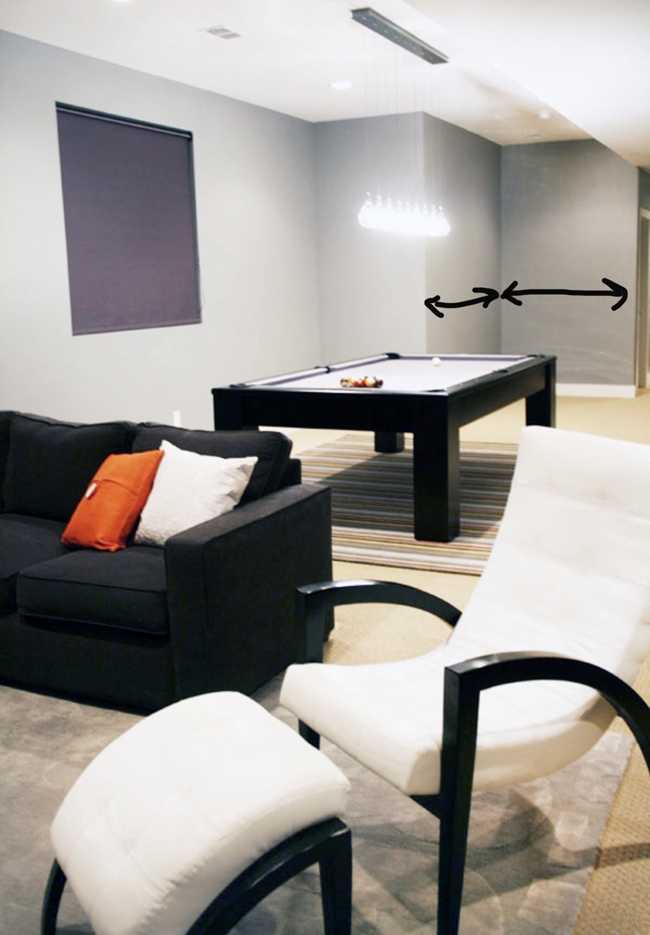
A couple of years later we had the pool table, but we pushed pause on the plans before adding the game table. At the time, we were trying to have kids, and we realized that we’d need to reserve that corner of the basement for a play space. But in the back of my mind, I could still imagine that one day, when our kids were older, we would build in banquette seating and add a table for epic game nights. Here’s what the space looked like around 2010 with arrows showing where the someday-seating would go.
Not to long after this, those kids we wanted came along, and the far corner of the basement quickly filled with toys! It looked like this on a good day (when all the toys were put away).
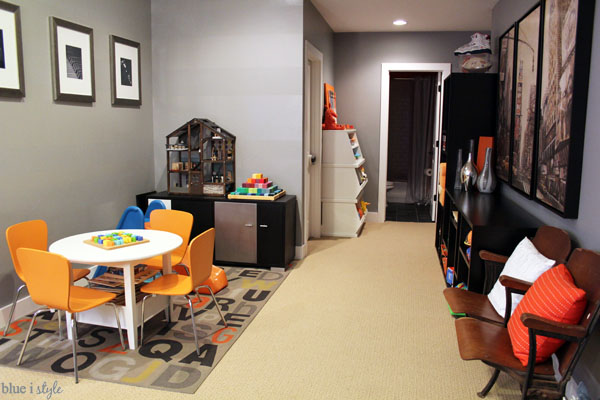
The kids got so much use out of that play table! But now that they are a little older and spend more time as a family playing board games, the small table just wasn’t cutting it anymore. That’s when we knew it was finally time to upgrade to a bigger game table with the banquette seating I’d always dreamed of. Here’s a quick reminder of what we have planned for this end of the basement.
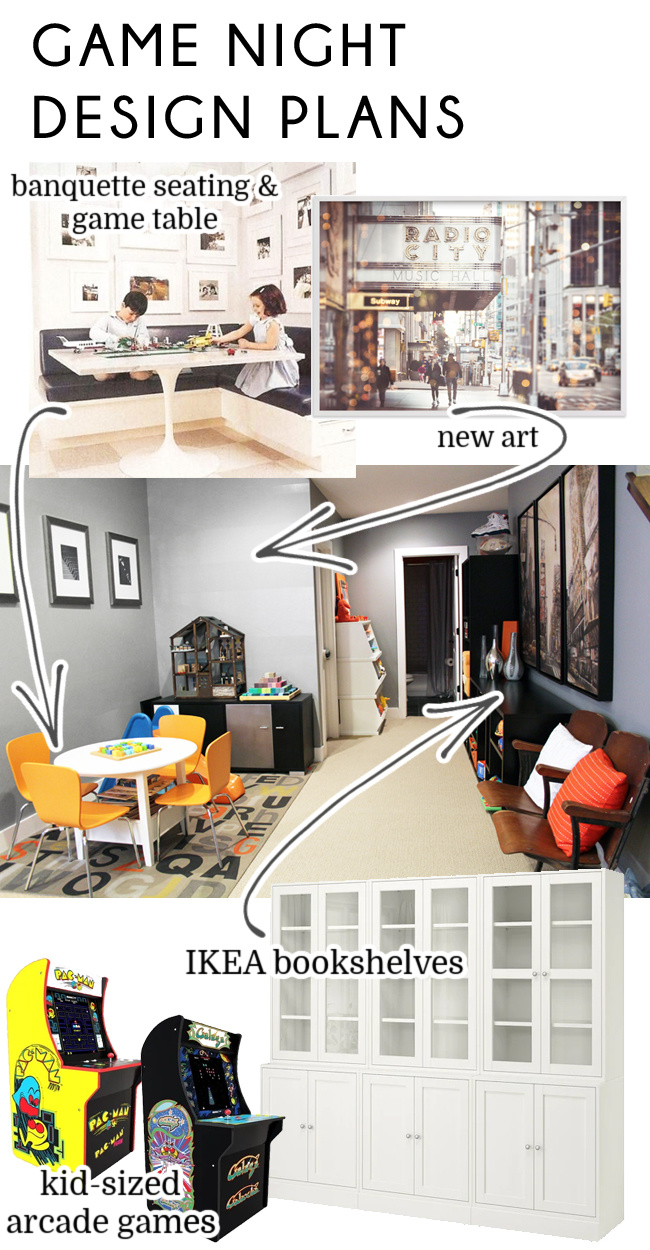
Over the last few years, I’d been saving lots of banquette seating inspiration photos on Pinterest and Instagram, so I had a pretty good idea of what I wanted. Let me walk you through some of my favorite inspiration photos and what I like about each.
Banquette Seating Inspiration
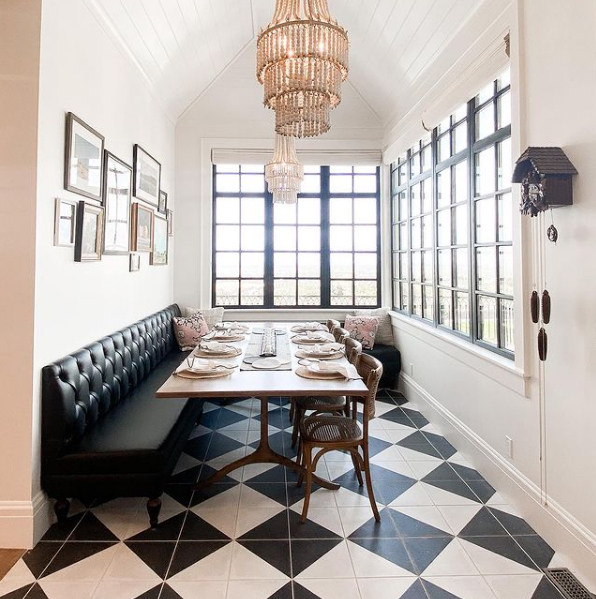
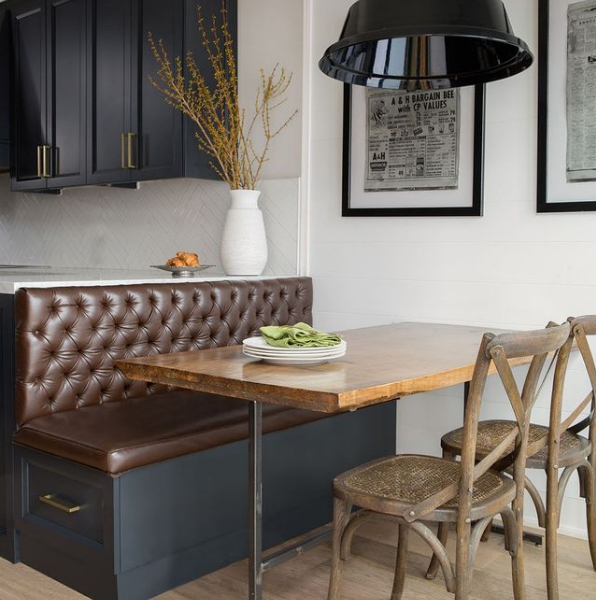
I love this gorgeous tufted, banquette seating! I did some quick online shopping and found quite a few affordable banquette furniture options like this one. But the practical side of me knew that we needed storage for all of our games, so a furniture-style banquette with pretty wasn't the right choice for our space.
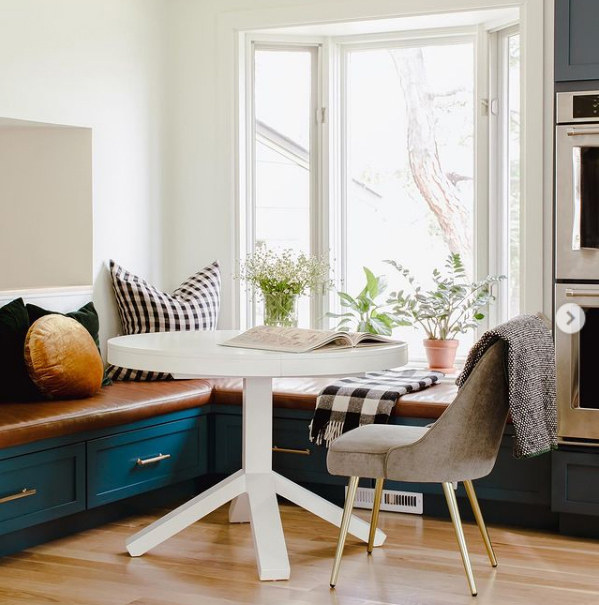
This banquette seating is big on storage, and hello gorgeous blue! But since we'll have a bigger table, I knew that the drawers underneath wouldn't work for us. These drawers would be great for storing items you don't need to access often, but they be a practical way to store the games that we'd be getting out and putting away every game night.
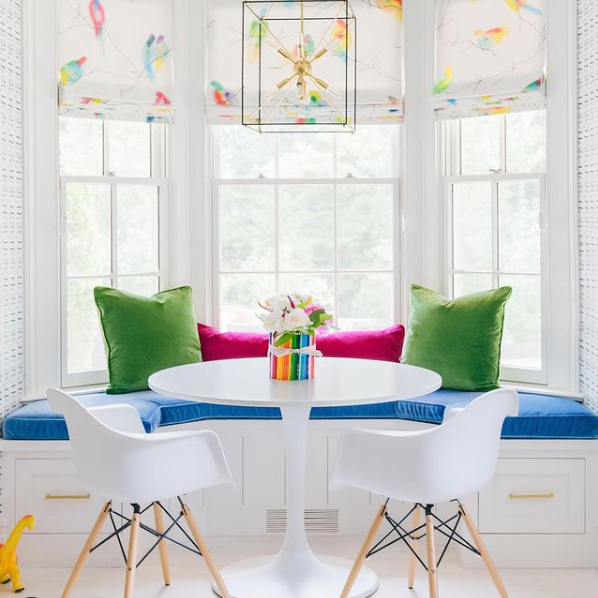
Then I came across the window seat banquette and I knew I was on the right track. Even thought this is a very different configuration from our corner seating plan, check out those drawers on the ends! I knew I was on the right track...
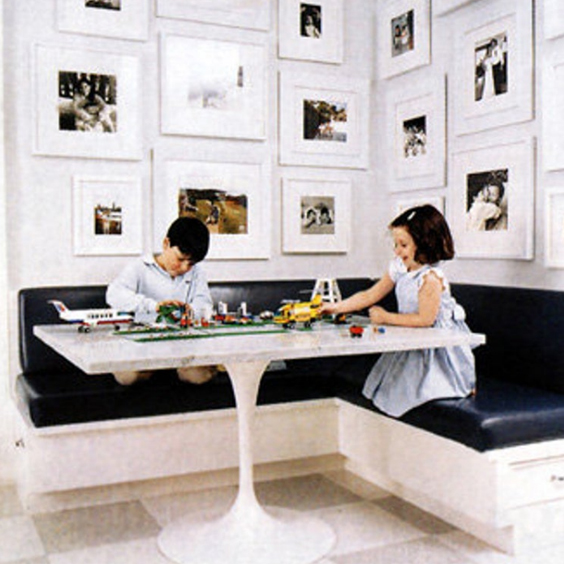
Getting warmer!! This photo is very close to what I had in mind, with the corner configuration and the drawers on each end. The only problem here is that the drawers are quite shallow, and I want deeper drawers to hold lots of games.
Bingo! Big drawers that use all the space from the seat down to the floor would provide tons of easy-access storage for games!
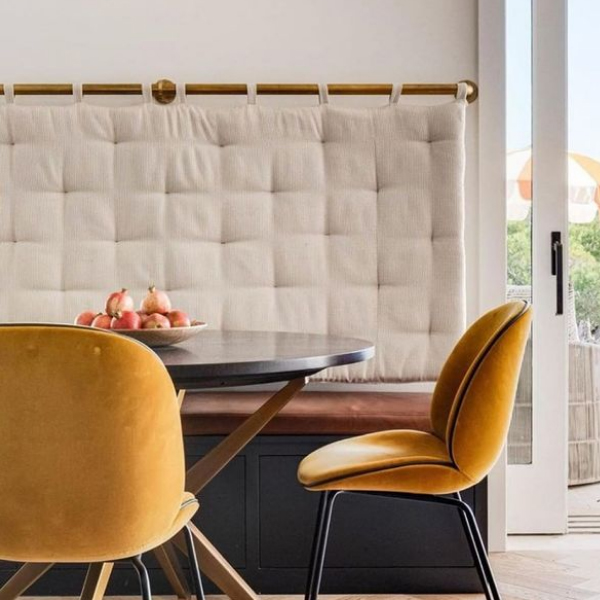
Next up, I was thinking about making the banquette comfy. This photo immediately caught by eye! I love the look of these hanging cushions, rather than just pillows. In this kitchen, the rod the cushion hangs from is placed high enough so that no one would ever be leaning against it. I want to hang art on the walls above our banquette seating, so I probably couldn't hang the back cushions this high. Positioned lower, I think the rod would end being uncomfortable against people's backs - so while I love this look, I'm not sure it's right for our basement.
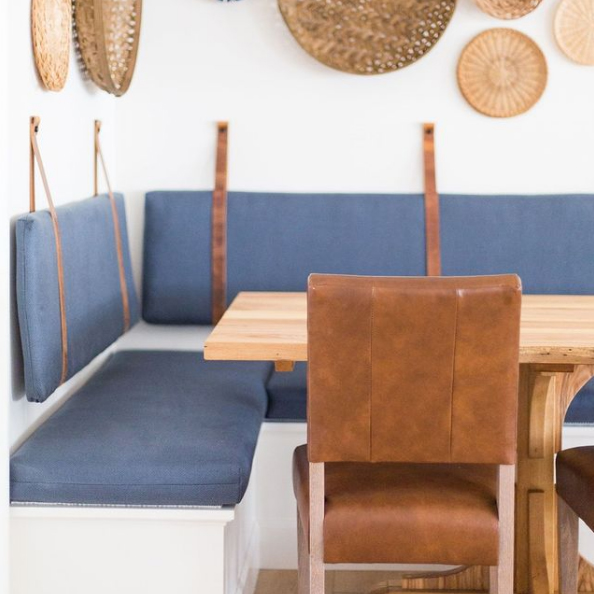
How great is this! I love the way these back cushions are hung from leather straps. This might just be the winning inspiration for our banquette cushions. What do you think?
Game Room Banquette Seating Must Haves
With all of this inspiration in mind, we came up with a list of must haves for our game room banquette seating:
- Long Storage Drawers – We want storage for all of our board games. Since family game nights are a regular event around our house, we need easy access to the games. This rules out storage below hinged seating and drawers the fronts of the seats. We don’t want to have to move the table each time we get games out or put them away. Long drawers that pull out from the ends of the seating will give us easy access to the games. How long is long you ask? Four foot drawers should give us ample space!
- Flush Drawer Pulls – The storage drawers will need handles, of course, but I don’t want anything that sticks out. Not only would standard pulls be a potential hazard for people to bump their legs on as they get on and off the bench, I also imagine kids using them like a step, which I fear would break the handles (or worse yet, the drawers) over time. To avoid this issue, we’ll use campaign-style drop handles.
- Built-In Appearance – We want the banquette seating to look built-in without actually being attached. We always like to keep our options open for how we might use a space in the future, so not affixing the banquette seating to the walls will mean no damage if we ever decide to remove it. However, we still want the bench to sit flush against the wall, so this it will need to be notched to sit above the baseboards.
- A Lip to Hold a Cushion in Place – Once the wood banquette-seating base is in place, I plan to make both bottom and back cushions. In order to keep the bottom cushions in place and prevent them from sliding off the end of the seat as people scoot out, I’d like to have a one inch lip at each end of the bench.
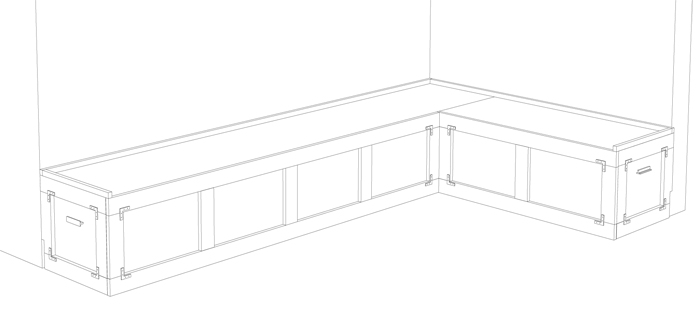
I wish Scott and I had the carpentry skills to build this banquette seating ourselves – but fortunately we know people with the skills we lack. Scott has been doing theater professional in Denver for the last 15 years (as one of his two careers), and so he knows lots of very talented set builders. The pandemic put most theater people out of work for the better part of the last year, so we knew that some of his friends would probably welcome a side-gig. We asked around and found someone willing the build the banquette for us, as well as a custom game table to go with it.
Here are the game table design plans he drew up per our specifications. This is going to be SO good!!
We’ve been working on lots of other projects in the basement, and I’ll show you the progress on those next week. I’ll also share some sneak peeks in my Instagram stories between now and then!
The post Game Room Makeover: Week 3 {One Room Challenge} appeared first on Blue i Style.

