
DIY Kitchen Projects : The $20 Kitchen Island Project
My wife and I love to cook just as much as we love to do DIY projects. Just recently, we’ve been having problems with kitchen space – or simply too much of it. To fill in this gap, we decided on installing a kitchen island right in the middle instead of having a dining table. The best part is that we made our own kitchen island. Do you want to see how we did it?
DIY Kitchen Projects: The $20 Kitchen Island Project
Affordable And Easy To Do Kitchen Island
There are a lot of DIY kitchen projects out there that can make any kitchen look great. But this nifty project caught my eye not only because it looked good, but it was very cheap and easy to make. Can you believe my wife and I spent just only $20 for this kitchen island? With that being said, check out the tools and materials you’ll need and follow the simple steps below.
Tools:
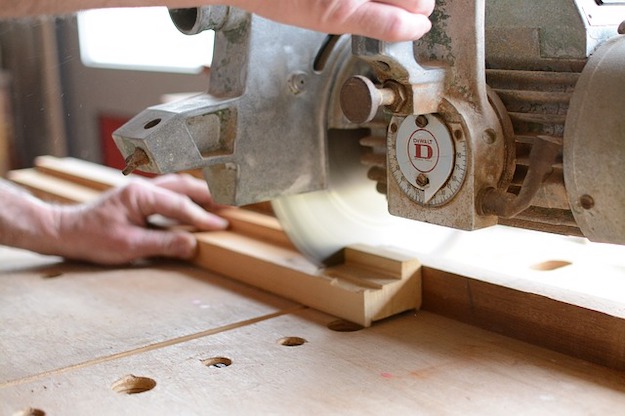
- Miter Saw
- Hammer
Supplies:
- 2 – 4″ x 4″ x 6 ft. sections
- 3 – 1″ x 10″ 6 ft. boards
- 4 – 1″ x 4″ x 8 ft. boards
- 2″ nails
- Sanding block
- Stain/Poly
Steps:
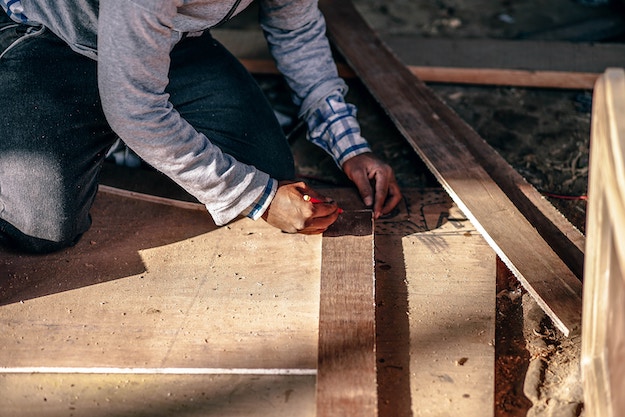
1. Measure And Cut

For legs: Measure the sections and cut the two 6 ft. sections in order to create four 35″ long pieces that will serve as the legs. (4″ x 4″ x 35″, 4 pieces)
Countertop pieces: Have the three 1″ x 10″ trimmed into 60″ in length (the project will be 5ft). Cut using the miter saw. (1″ x 10″ x 60″, 3 pieces)
Framework: Make three 58″ long pieces and six 24″ long pieces by cutting the 1″ x 4″ pieces down.
(1″ x 4″ x 58″, 3 pieces)
(1″ x 4″ x 24″, 6 pieces)
2. Putting It Together

Attach two 58″ pieces and four 24″ together.
Connect by nailing at each junction.
Center one 1″ x 10″ piece across the frame. Have an overhang of one inch at each side. Nail it into place.
Lay the remaining 1″ x 10″ pieces on each side and nail them into place.
Flip it over then nail the legs to each corner and place them securely. Four nails per leg and two on each side.
3. Check The Balance
After attaching the legs, turn the kitchen island to its upright position and check if the island is balanced.
4. Utilize The Remaining Boards
Attach the two 24″ pieces to the legs on either end of the island. It should be 8″ off of the ground.
Nail the remaining 58″ by connecting the two 24″ pieces with it.
5. Sand The Whole Kitchen Island
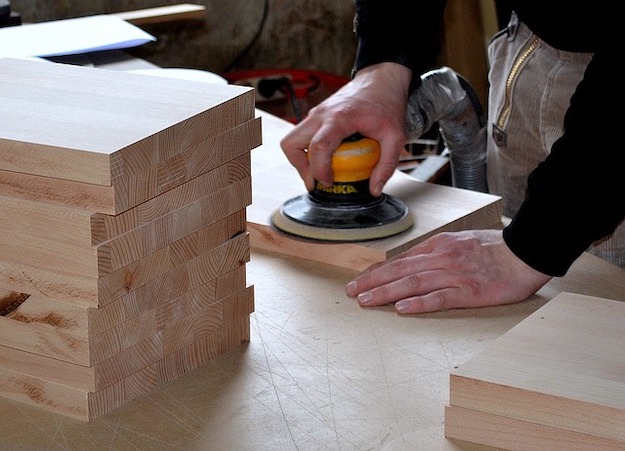
Using the sanding block, sand the whole island to smooth out edges and surfaces.
6. Stain The Island
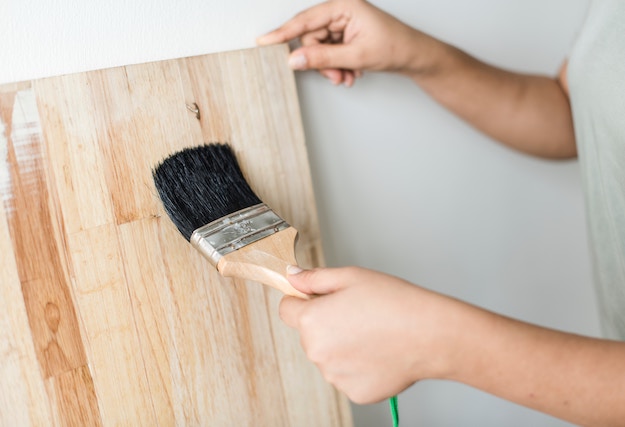
Stain the kitchen island with the help of a rag or brush. Wipe off any excess stain. Let it dry. Now you have a new kitchen island.
Here is the full video tutorial of this awesome project by The Rehab Life:
This kitchen island is too awesome for words that my wife and I can’t believe why we didn’t think of this sooner. For those of you who’re tight on a budget, never be afraid to spend less. It all boils down to creativity and resourcefulness when it comes doing it yourself.
Like this? You’ll also like…
Build This DIY Rustic Kitchen Island | Cheap Kitchen Renovations
DIY Kitchen Storage Ideas – The Sneaky Knife Drawer
DIY Projects: How To Build Your Own DIY Wine Rack
Featured Image from Old Paint Design